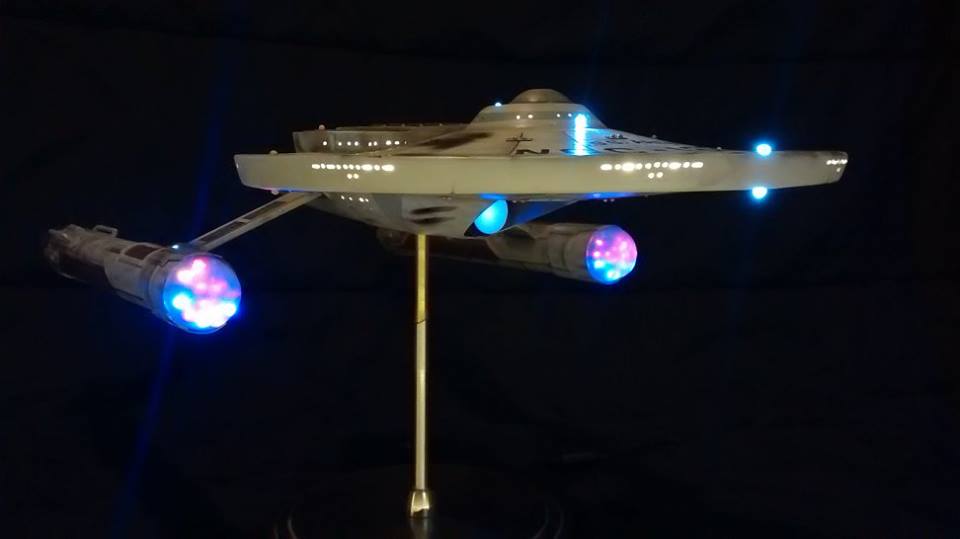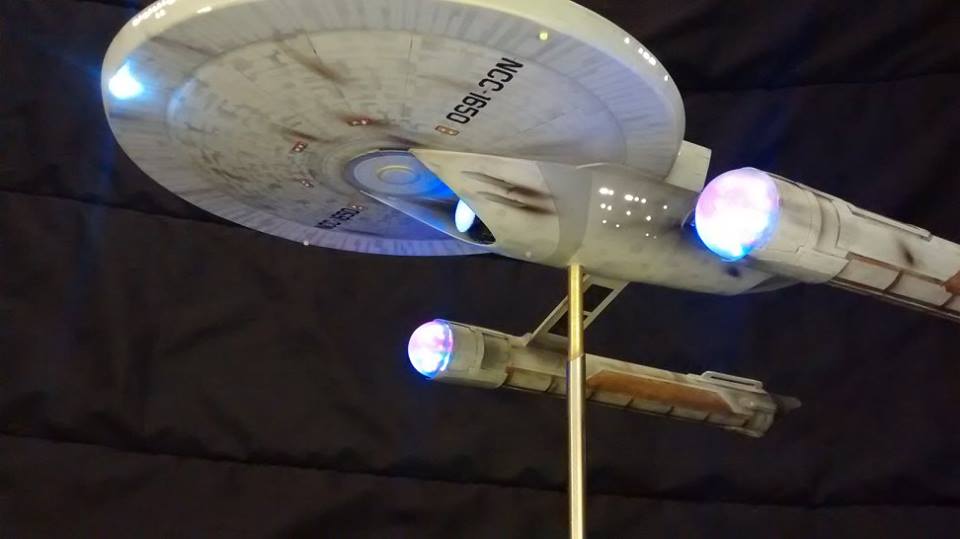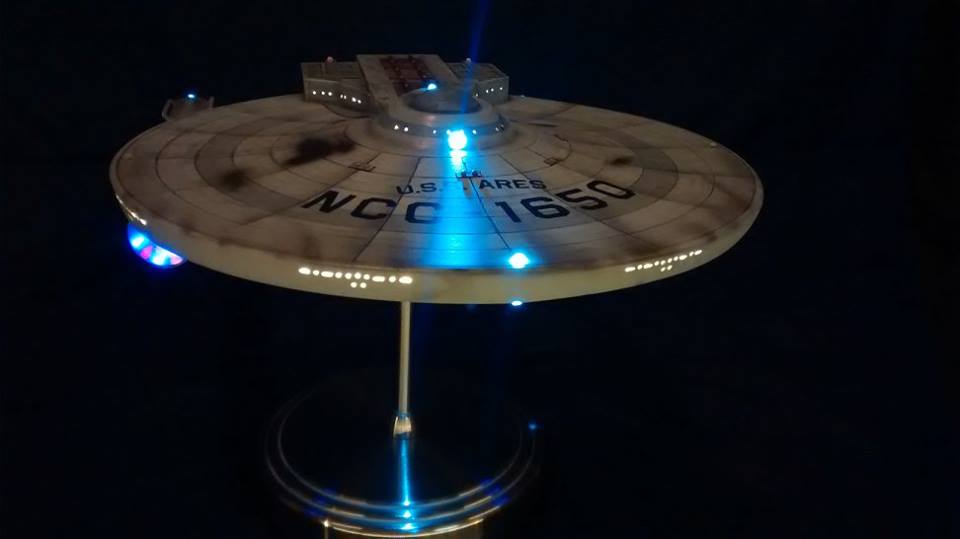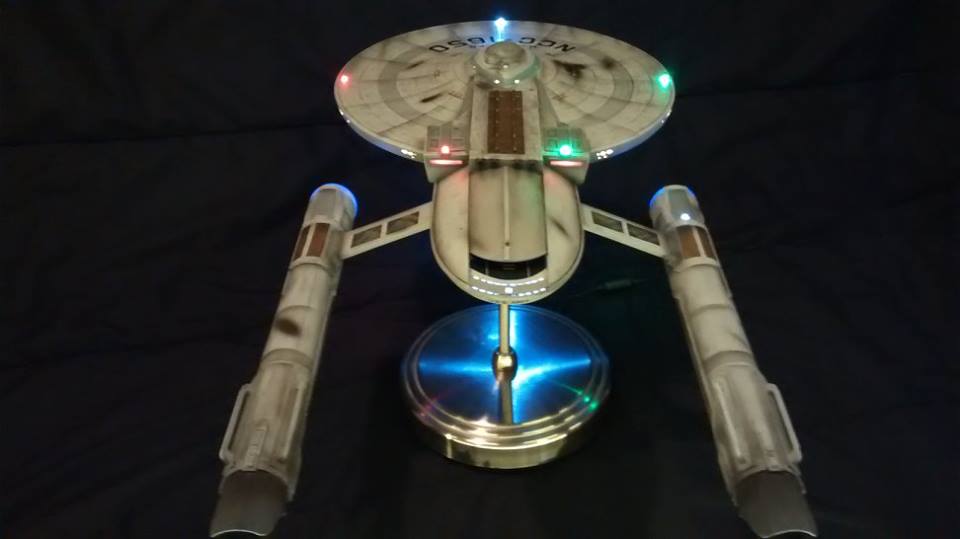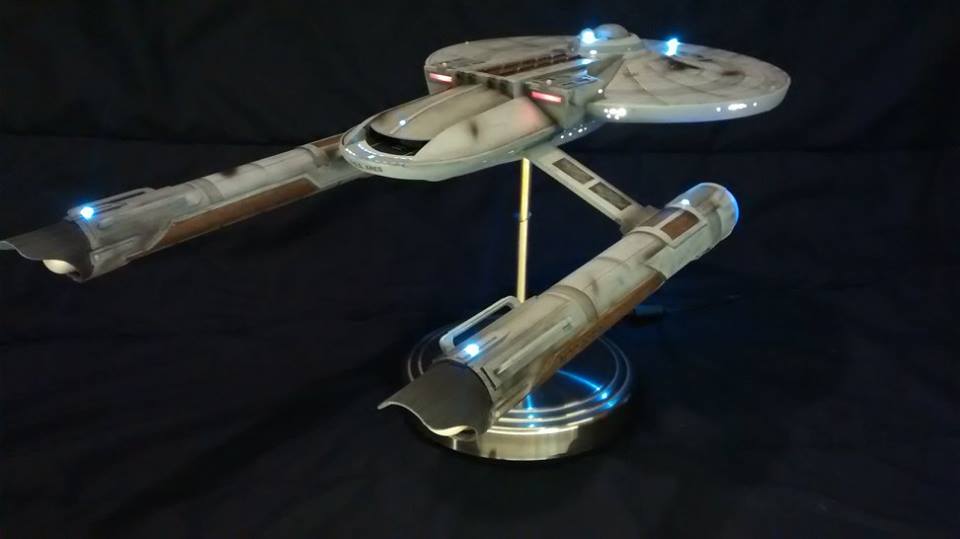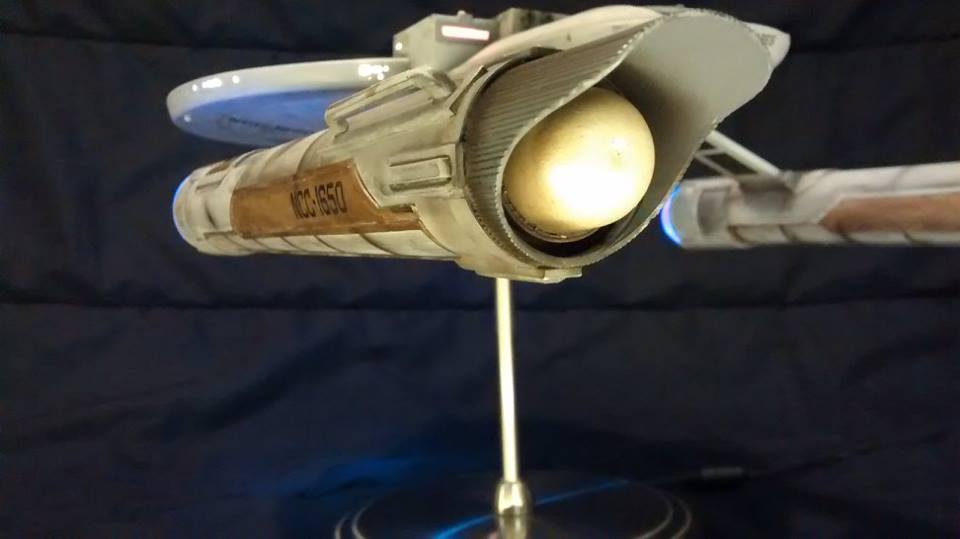
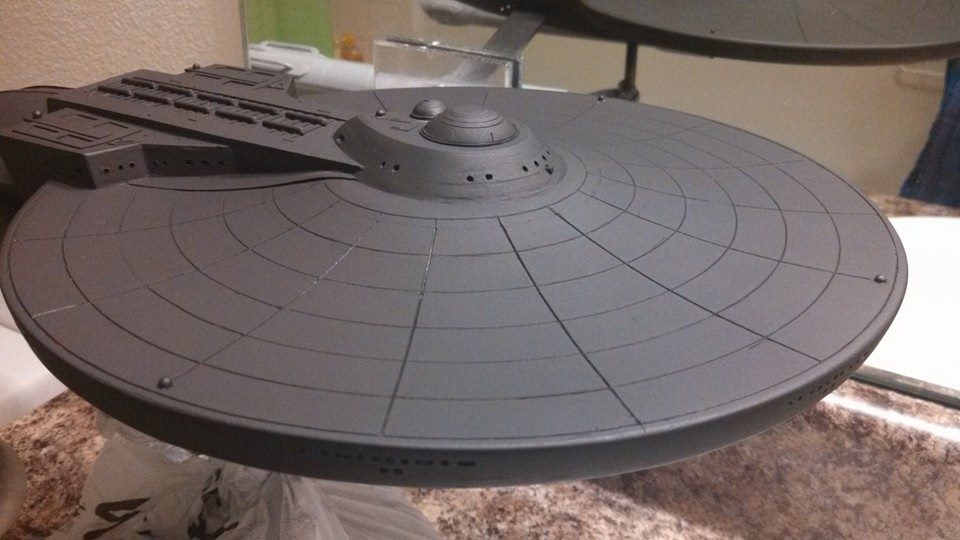
With the lighting and physical details in place It was time for paint. A coat of black paint helped with the light blocking, followed by a coat of dark grey automotive primer.
 I then used a fine detail modeling primer. This gave the entire ship a light gray appearance similar to a star destroyer. (did I just say that?) I then added some Aztec paneling and basic colors so that I could show the ship at a small fan convention at Starbase Studios. After that, I'm sad to say the model sat for several months while I got busy with other things. Then recently the CBS lawsuit, and fanfilm guidelines had me thinking that all my work would be for naught. Surely nobody would want a model of a ship that was in a movie that might not be made. I was wrong. Apparently there is still much love for the old girl. I still was hesitant to pick it up again, however, my beautiful wife's sudden need for some major dental work spurred me to complete it. When pulling her out of mothballs (the ship, not the wife), I realized that I had done something wrong and the lighting control board was fried. I chatted with Ralph over at Tenacontrols and he graciously sent me a newer board that’s now hooked up and working swimmingly!
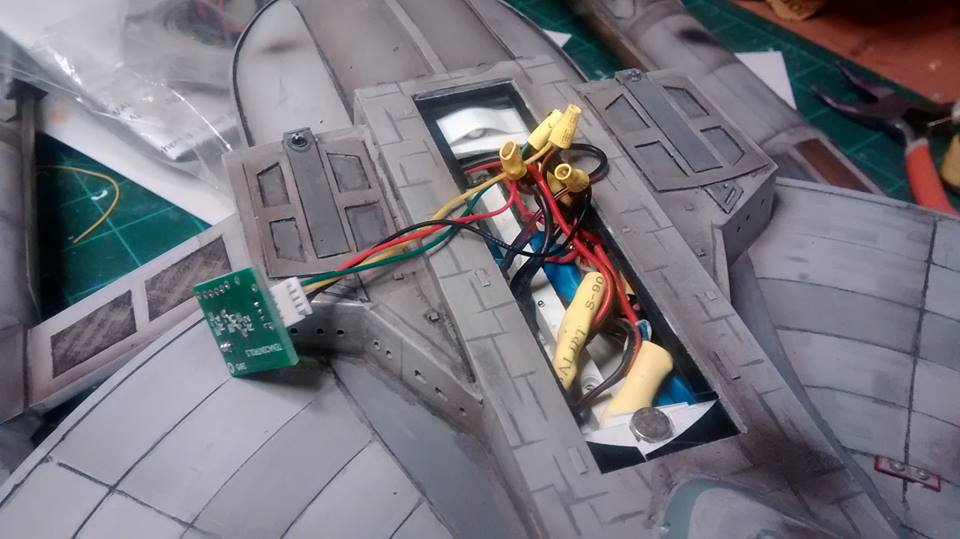
Anyways, after sanding it down again, I gave it another coat of Grey model primer to cover up my temporary paint job. Initially, I was to give the entire thing a coat of a darker color of gray as that is what would have matched the screen used Digital model, however, I realized that the details and weathering I was going to add later would darken it up enough. Up next was the copper/gold accent areas. As I do with all my model painting, I use acrylics and mixed them by eye until I found the color I wanted. These areas were a mixture of copper, silver, and a little bit of black. This was applied to the grille area behind the bridge, and also the vents on the nacelles. The darker tan areas on top of the secondary Hull, the band that wraps around the secondary hull just behind the deflector, and the vent areas on the pylons were next. Progressive shades of darker and darker grey were used to accent areas around the hull.
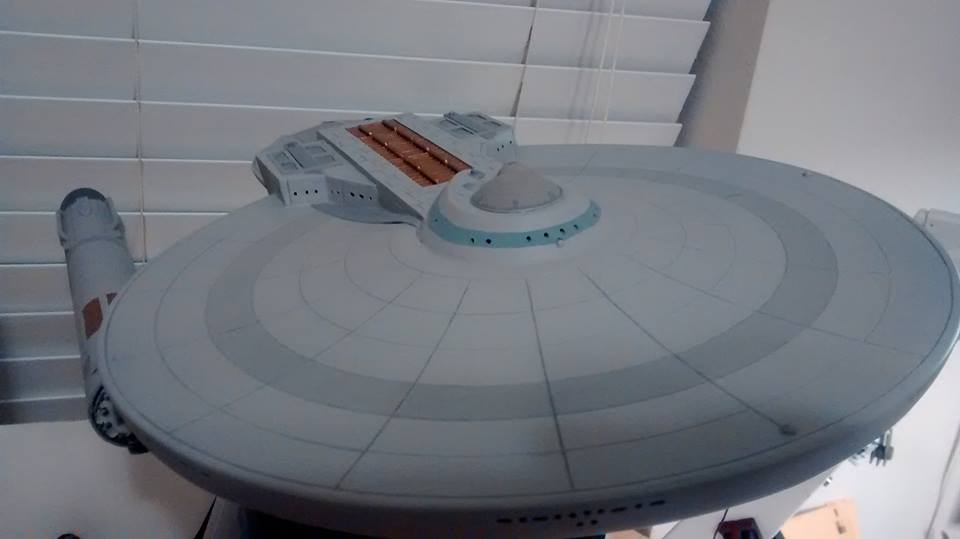
The Next Step was to add the Aztec panels on the ship. I used a plastic stencil I cut from a template I found online for the upper and lower saucer section. I used a plastic template that I made by hand for the upper and lower secondary hull, and for the edge of the saucer section and the area near the deflector, I used masking tape specifically made for modeling.
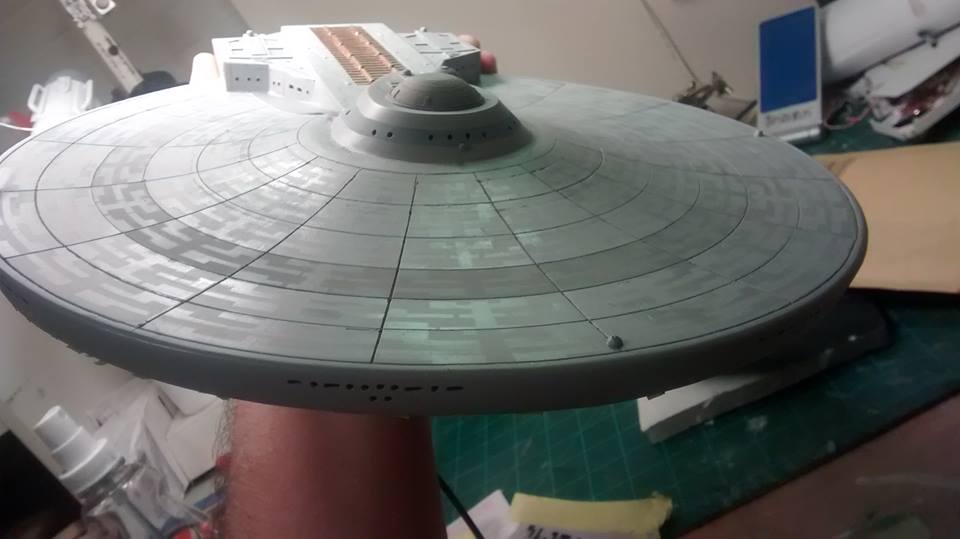
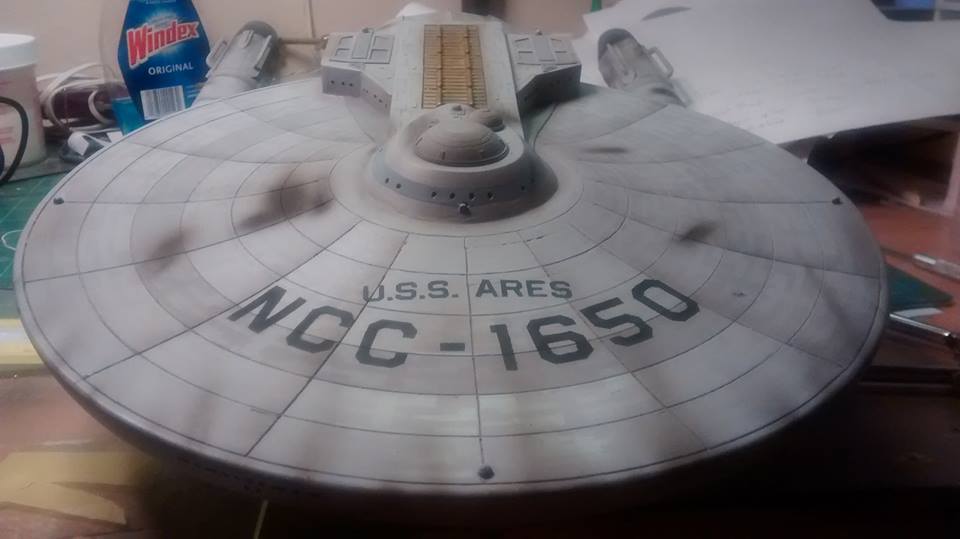
At this point I made a huge mistake and severely messed up the paint on the top of the saucer section. Because time was of the essence, and because I really didn't want to have to deal with it again, I decided that adding a little bit of character with weathering and battle damage would help cover up my boo-boo and make the build more interesting overall. Using a mixture of black and brown I airbrushed flight weathering on the front of the saucer section, on the grid lines of the saucer section, and the nacelles. I also added some dirt on the hull in various places. I also added some exhaust marks by the torpedo tubes, and then used various cut out stencils that I made to add blast marks on the hull.
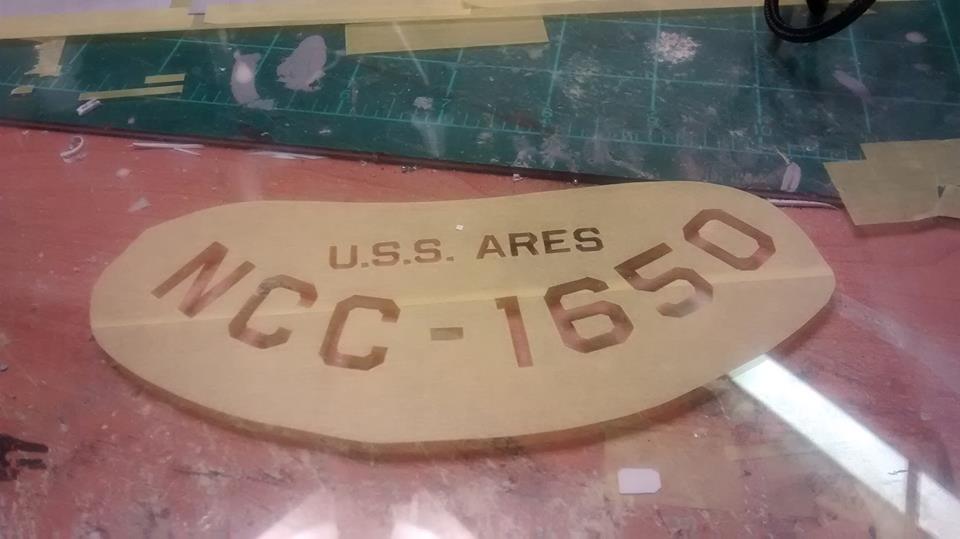
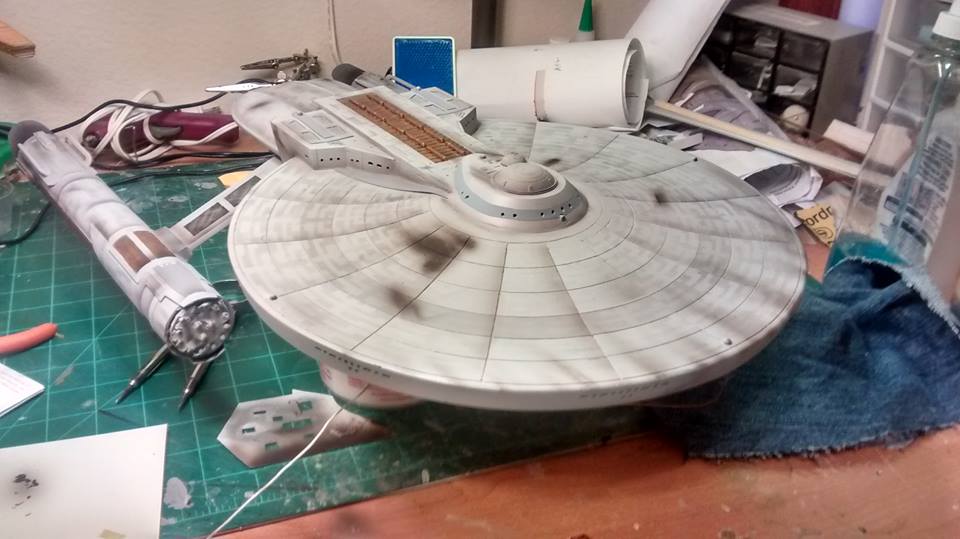 Up next was the ship's registry. (Normally this would be done before the weathering and damage, but like I said, I was in a hurry, and hey, nobody's perfect!) I decided that for the saucer section, I would use stencils. Printing out an ortho of the Ares in scale to the model I was building, I used it as a template to make stencils out of modelers masking tape.
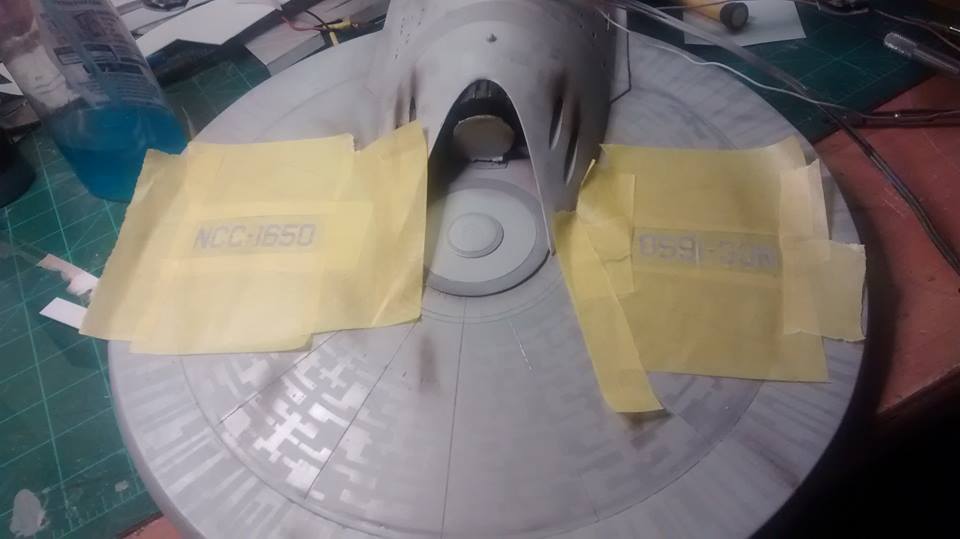 After carefully cutting them out and applying them to the model, I used a brush and very thin black paint to build up several coats and get the registry looking like I wanted. After removing the tape, some touch-up was required, but I was happy.
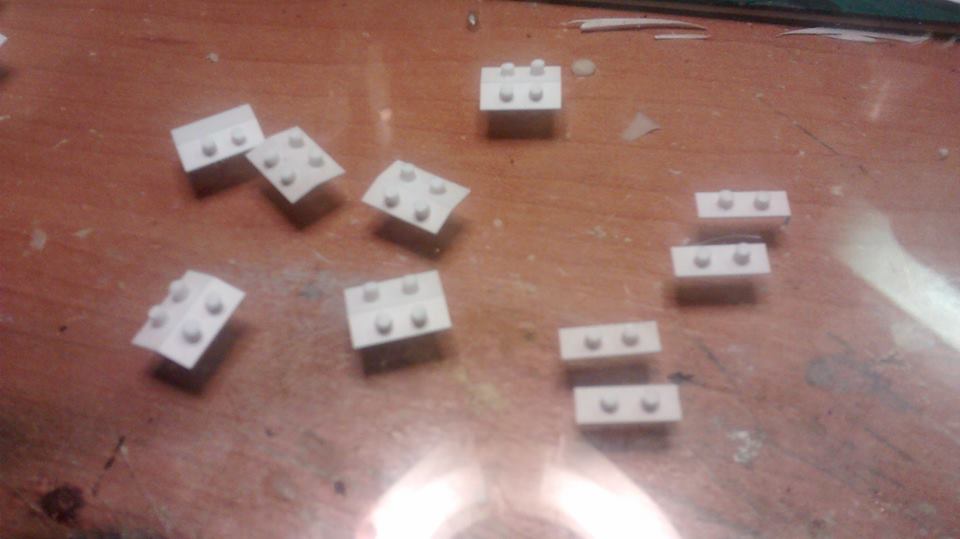
Then I decided to build the phaser arrays and put them on. I had not done so up till now, because I knew if they were sticking out, it would make it difficult to sand and deal with decals and such. I used sheet styrene, and the actual turret bumps were rod styrene that I glued on and hammered into the Dome shape using a brass rod with a divot in the end. I painted the emitters before I put them on. After affixing them to the hull, I made sure to weather them appropriately.
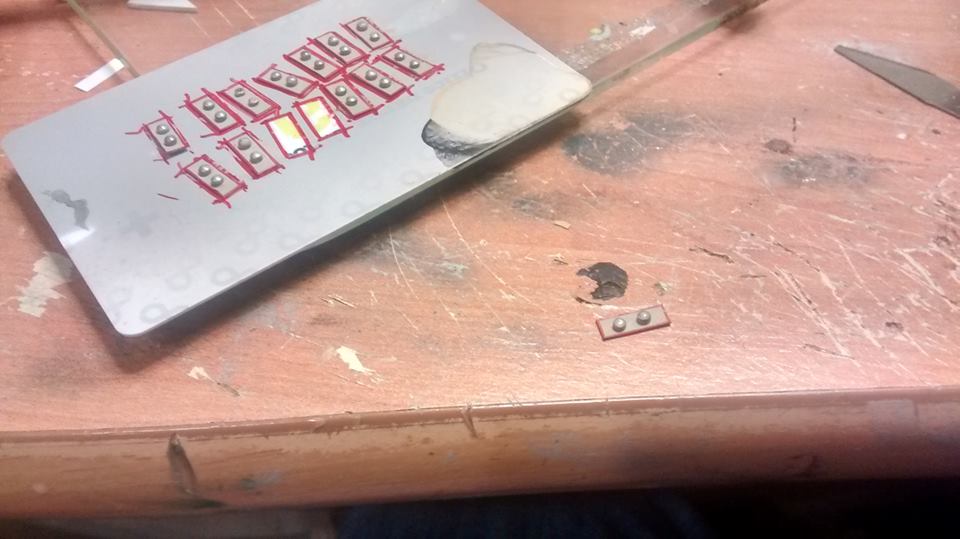
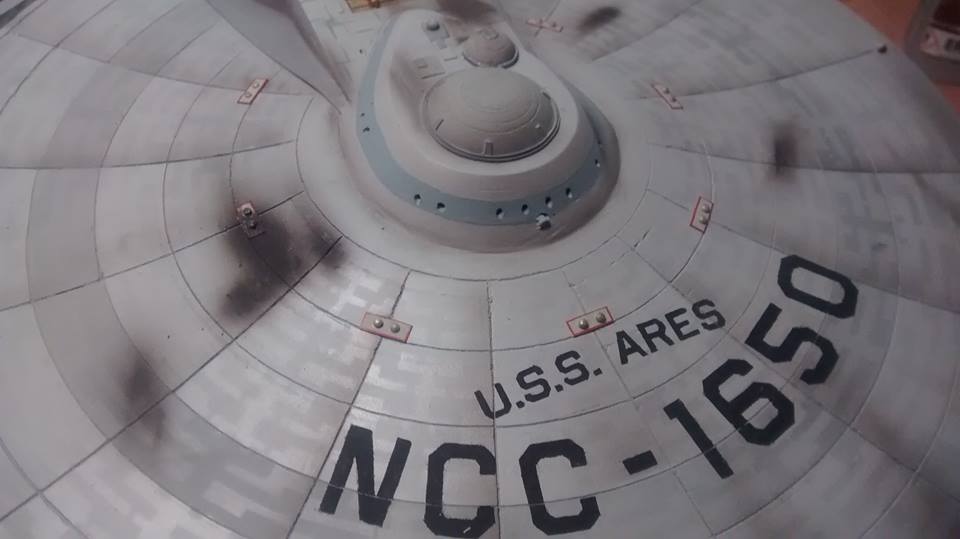
The registry numbers on the nacelles and underneath the shuttlebay were made using decals that I printed myself on waterslide decal paper. Before applying the decals I put a thin coat of future floor polish on the areas for the decal to be applied so that I would have a nice gloss finish for the decals to adhere to.
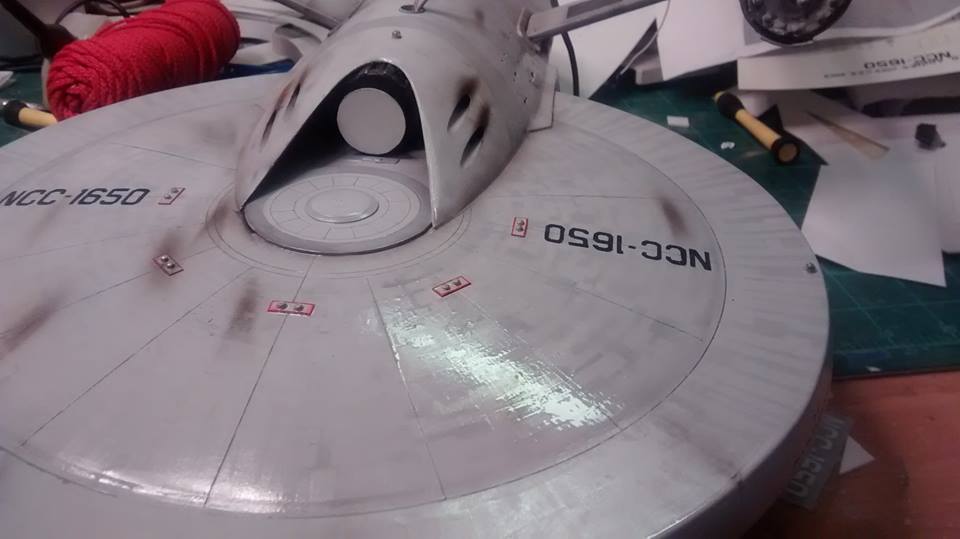 A coat of solvaset brushed over the decals help them to set smoothly.
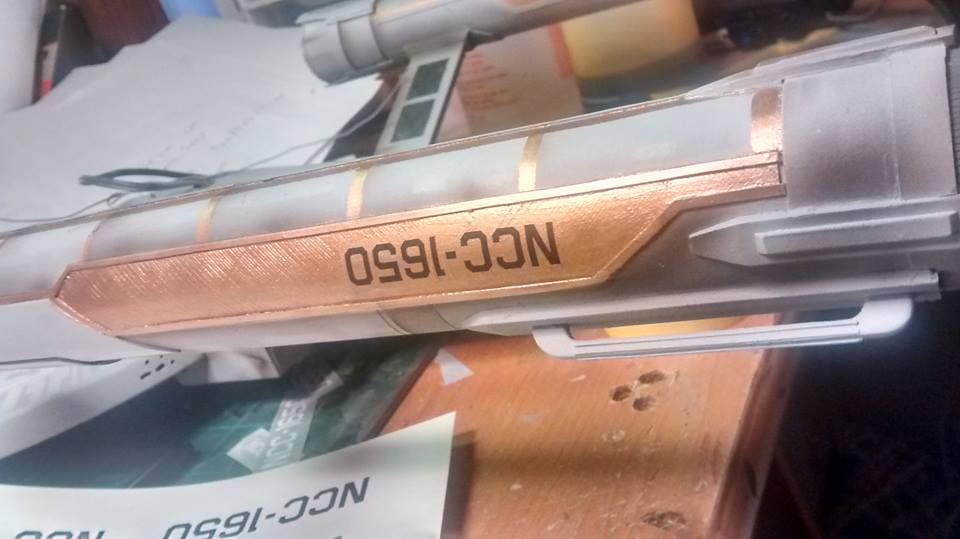
I then gave the entire model another coat of the floor polish. Now the model was completely glossy, and it was time to apply a black wash. For the wash, I just used black acrylic paint watered down quite a bit. The gloss texture on the model allowed the wash to flow easily into the cracks and crevasses of the grid lines in the saucer section and around the other details.
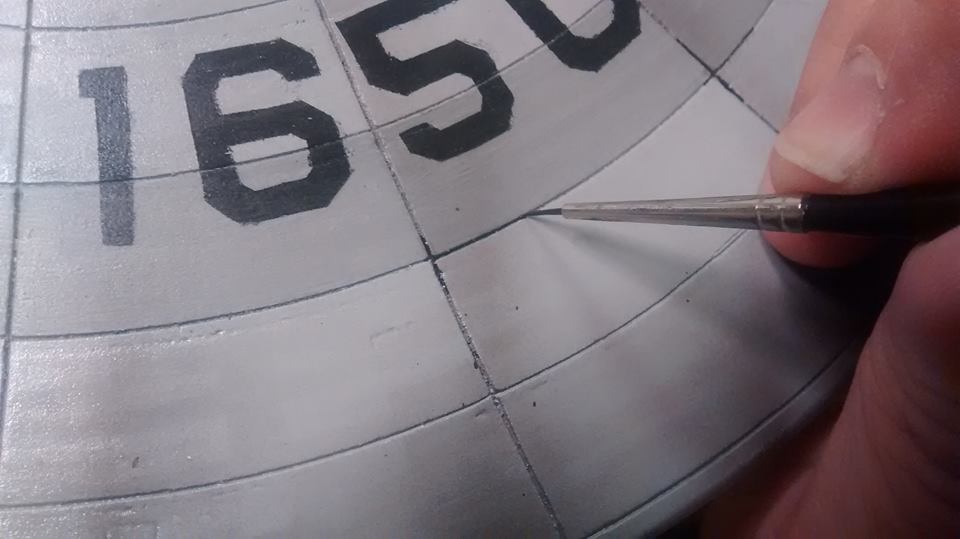 This helps add depth to models, especially in the highly detailed areas.
I then used a product called Krystal Klear to make the windows.
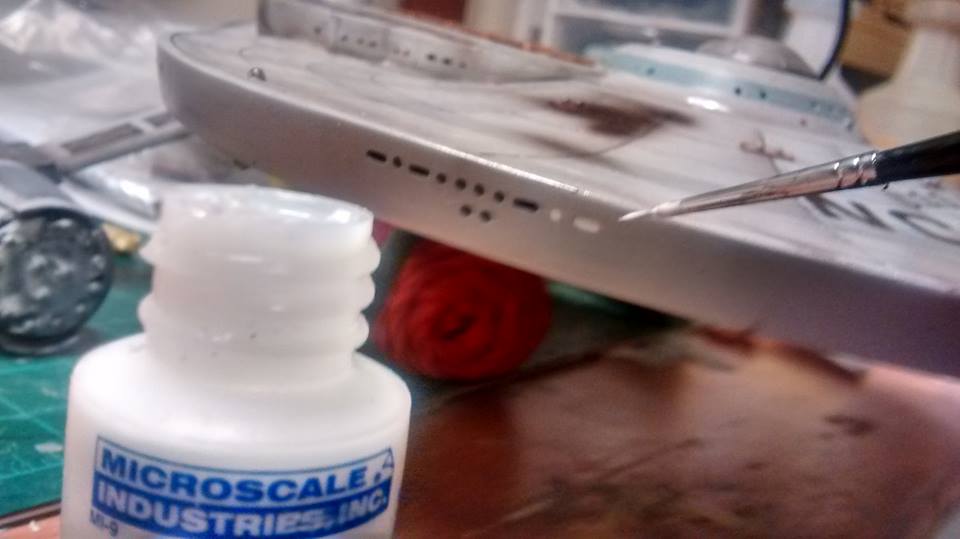
After that, I gave the entire model a dull clearcoat to get rid of the gloss texture and to help protect it. I also went around and cleaned off the paint on the various LEDs that, by now, had several coats on them. And that was it! After making sure there was a way to easily remove it from the stand (which is the concrete filled stad from an old floorlamp #thanksgoodwill ) and getting an appropriate power source, I did a final photo shoot and got ready to sell her.
All in all, this build, (that started with an Ares build contest) spanned 22 months, over 250 man hours, the birth of two kids, 17 exacto blade injuries (only two serious), 2 soldering iron burns, 3 accidental paint highs, 20 + all nighters, and about 35 trips to the local hobby stores. The materials for the construction included 7 existing model parts, two card tubes, four cast resin parts, two found items, 10 screws, one brass bar, over 900 individually cut pieces of styrene plastic, 17 energy drinks, 7,032 self sealing stem bolts, and a partridge in a pear tree. There are over 100 LEDs in this model, one Tenacontrols lighting board, and about 20 yards of wire.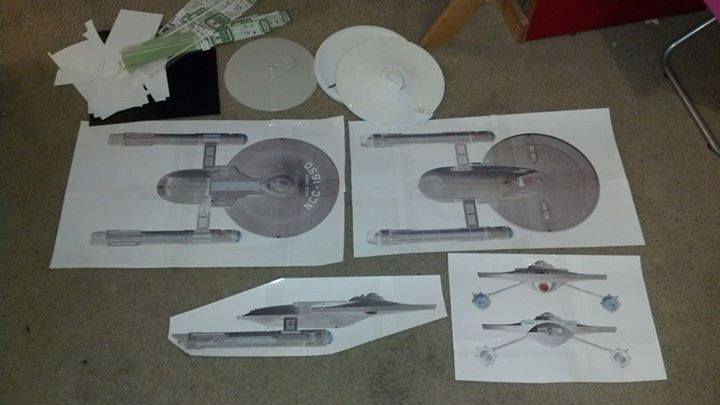
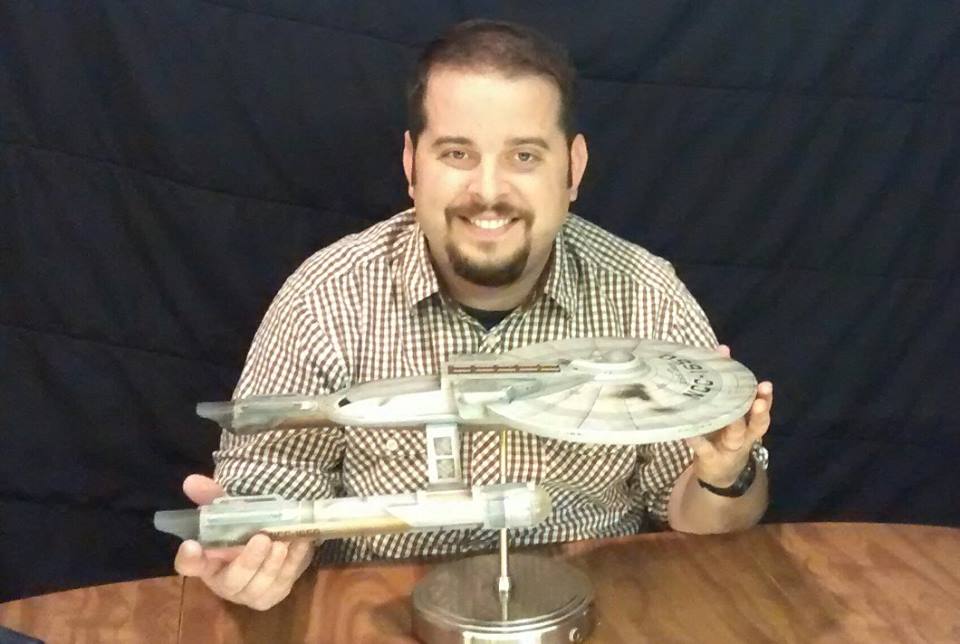
Is it perfect? No. There are flaws, there are things I would like to have done better, and there are lessons I learned. But I am pleased with the result.
Even though Axanar’s fate is unsure, I hope that the fate of this model is to be displayed and appreciated by whoever ends up with it. It has been a blast building it and being a part of the Axanar community. Thanks everyone! LLAP
Bid on the model here on eBay. The proceeds go to pay for Michael's wife's surgery!
You can find his previous 3 installments here. Part 1